February 7, 2017 guide photography
I recently finished up a month of travel. In addition to seeing great friends and beautiful places, I used my travels as an opportunity to learn how to use a DSLR. I mean really learn, beyond just the point-and-shoot basics we all know. So I borrowed an old Nikon D40 from a friend and sort of just dove in. Turns out, it’s not very difficult to go from n00b to novice, and it’s even easier to take a lot of photos…but that’s a story for another day.

A lovely creek in Boise National Forest.
One of the challenges I (unwittingly) set for myself was creating panoramas,
like the one above. It seems straightforward in theory - shoot a series of
overlapping photos and then combine them using software. Afterall, most modern
smart phones have panorama modes built into their camera apps. However, as I
soon learned, it can very easily turn into a deep, interesting trap rabbit
hole of techniques and details.
This post is a summary of my findings from figuring out how to create panoramas from individual photos, and then uploading them to Facebook as “Photo Spheres”1. This wasn’t as simple as I expected it to be, so I wanted to record my insights and process, for my future self and anyone else who is silly enough to try for themselves.
One last aside - I work predominantly on Ubuntu with FOSS, so this is written using entirely open source tools. This is definitely possible using Photoshop (heck, it’s probably much easier), but YMMV.
Making the Panorama
There’s effectively two components to my process:
- Produce the raw panorama by stitching together a series of pictures.
- Set the panorama to have the correct field of view (FOV) and image size and then add appropriate metadata so it's recognized as a Photo Sphere.
This section focuses on part A.
Taking the Photos
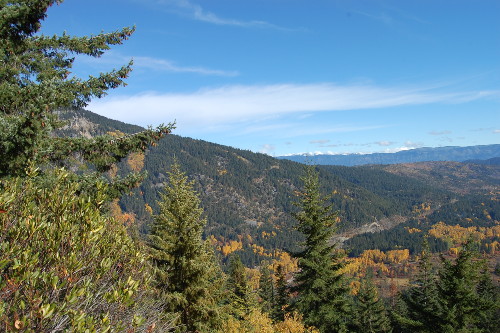
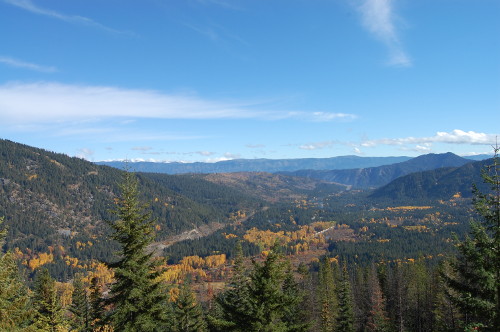
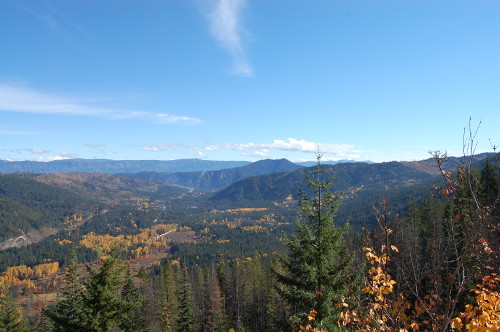
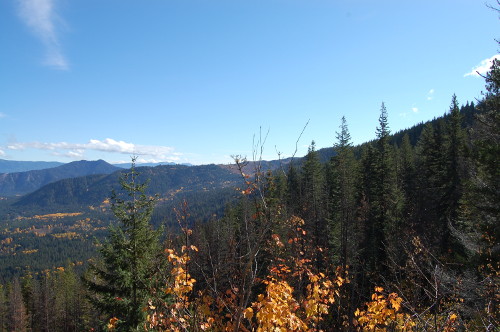
4 individuals photos.
Since I was just starting out with a borrowed camera, I wasn’t very sophisticated in my setup for taking the panorama shots. I shot hand-held, and used the horizon as my reference as I swept my camera across the scene, taking pictures periodically. Of course, there are some very fancy rigs out there to buy for your tripod, and there are even some clever techniques for better hand-held shots (google “philopod” if you’re curious).
Nevertheless, I found I was able to produce decent panoramas, once I learned how to keep the exposure and white balance the same in every picture.
ProTip #1 – Consider using the AutoExposure-Lock feature of your camera when taking a photo series for a panorama. It makes the resulting panorama look more natural and contiguous, at the cost of some places potentially being under- or over-exposed.
I didn’t have many problems with parallax, since I was taking mostly wide-angle landscape panoramas. But I now know that I can reduce parallax effects by rotating the camera about its “no-parallax point”.
Stitching the Photos
For stitching, the best open source tool I found2 is Hugin. Hugin is actually a front end GUI for the Panorama Tools.
Now, Hugin is an amazing tool and can be used to do a tremendous amount of things. And so, here is where the hole really starts. Between trying to figure out how to use the tool and being distracted by learning what people do with the tool, I spent way too long here. And every time I revisit this, I seem to lose more time3. But, even I have limits to how deep down the rabbit hole I’ll go. So, here I’ll be focusing on the practical findings, and leaving some questions unanswered…because…I just need to move on 😵
So, without further adieu, here’s the CliffsNotes4 for creating panoramas in Hugin:
- Load you photo series.
- Switch to ‘Advanced’ interface.
- On the ‘Photos’ tab:
- Select ‘Hugin\’s CPFind + Celeste’ option for Feature Matching. Press ‘Create control points’ button.
- Select ‘Positions, View and Barrel’ for Geometric.
- Run the optimizer (Edit > Optimize)
- Switch back to ‘Simple’ interface.
- Go to ‘Preview’ tab and review panorama. You’re looking for a few things:
- Are there any redundant photos? (e.g. photos arranged [1][2][3] such that 1 and 3 have enough overlap that 2 isn’t needed).
- Are there any moving objects (cars, people) in the image? If so, consider using a mask to hide it.
- Does the panorama look good (well aligned and not distorted)? If not, you may need to manually add/remove control points.
- Go to the ‘Projection’ tab and press the ‘Fit’ button. You may want to try different projections to see if any work better. For wide-angle panoramas of nature, ‘cylindrical’ seems best.
- Go to the ‘Move/Drag’ tab and press ‘Straighten’ button. This should make a very subtle change to the panorama - if instead it turns your panorama into an ’S’, Hugin probably has your lens information or focal length wrong5.
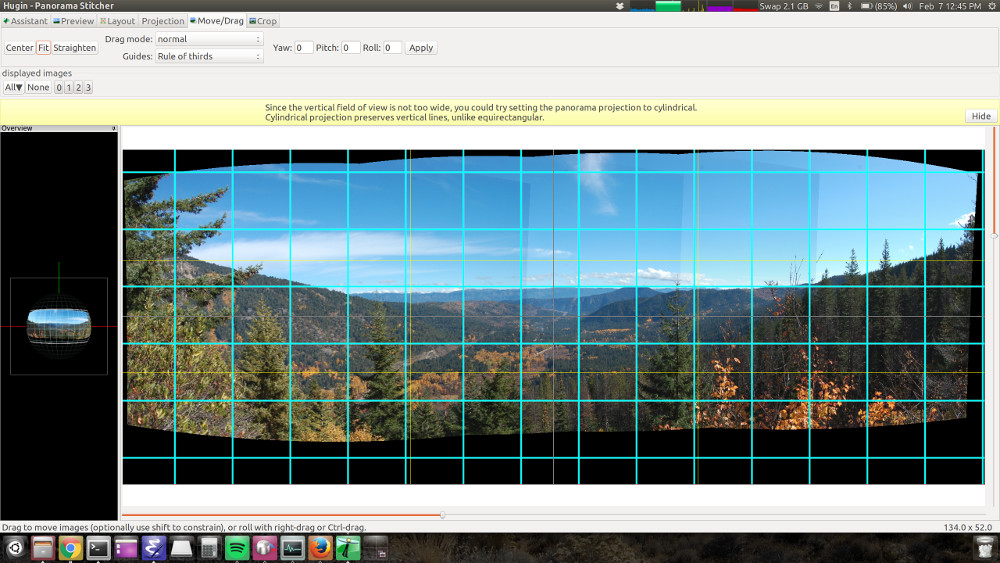
Panorama so far.
Okay, so now you have a choice, depending on what sort of panorama you want to produce. Typically, you’ll want to produce a Photo Sphere, which is a much cooler way to show off your panorama. In that case, proceed to the next section now.
However, sometimes you just want a flat, cropped panorama. I typically opt for this when the estimated horizontal FOV6 is ≤160° or I’m just stitching together a couple photos (not really a panorama). To do this, we continue from above:
- Switch to ‘Advanced’ interface.
- Go to ‘Stitcher’ tab and…
- Press ‘Calculate Optimal Size’
- Press ‘Fit Crop to Images’
- Ensure ‘Exposure corrected, low dynamic range’ is the only option selected.
- Change the format to ‘JPEG’
- Press ‘Stitch!’ button and choose place to save hugin project file, then name and place to save resulting panorama.

Finished flat panorama.
That’s it - you should have a nice, clear panorama to post as you like!
Making a Photo Sphere7
Instead, you might want to post your panorama as a Photo Sphere. To do so, you just need to massage it into a size and shape that Facebook will accept and recognize as a 360° image8.
Image Shape
First, you need to make your panorama fit into one of seven predefined sizes (determined by horizontal and vertical FOV):
Go back to the ‘Projection’ tab and note the estimated horizontal and vertical FOV values. Then find the row in the following table that best matches those values. Enter the FOV values from the table into Hugin. The Image Size and Command you’ll use next.
H FOV V FOV Image Size (px) Command 120° 86° 6000x5343 150° 86° 6000x4274 180° 86° 6000x3562 240° 86° 6000x2671 300° 86° 6000x2137 360° 86° 6000x1781 360° 65° 6000x1217 Go to the ‘Crop’ tab and click on the button next to the crop dimensions to ‘reset crop to maximal possible area’. The result should be your panorama embedded in an overall image which covers the desired FOV.
Switch back to ‘Advanced’ interface.
Go to ‘Stitcher’ tab and…
- Change the Canvas Width to be 6000. The Height value should match the Image Size given in the above table. Leave all other values for FOV and Crop alone.
- Ensure ‘Exposure corrected, low dynamic range’ is the only option selected.
- Change the format to ‘JPEG’
- Press ‘Stitch!’ button and choose place to save hugin project file, then name and place to save resulting panorama.
This should result in something that looks like the following:
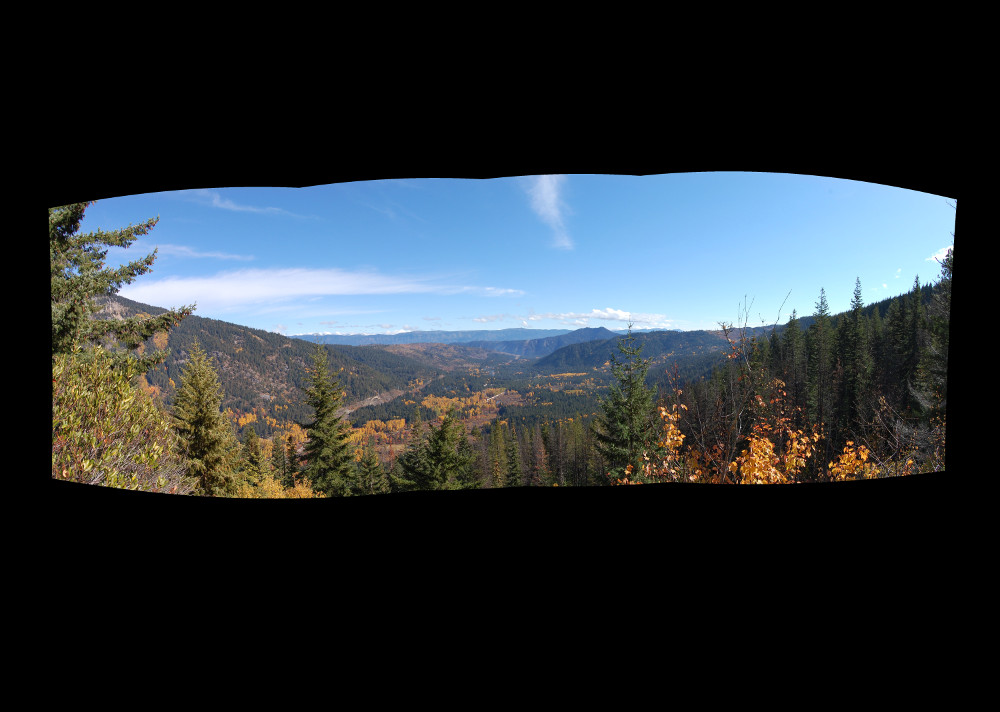
Photosphere (shown as regular image, so appears flat).
Image Metadata
Now, you need to set the metadata correctly on your image so that it declares
itself as a Photo Sphere. This can be done with
the exiftool command line
tool. You’ll notice in the table above I’ve provided the appropriate commands to
run for each FOV. Copy the appropriate command and run it in your terminal9. Be
sure to replace path/to/image.jpg with the appropriate path to your image.
Uploading to Facebook
Finally! You’re ready to upload to facebook…or are you? Well, you are, but Facebook imposes the following restrictions:
- You can only upload to the web (desktop) version of Facebook…
- … and you have to post it directly to your timeline (you can’t add it to an album directly10)
- … and you can only upload one panorama at a time.
If you follow all those steps, then it should totally work and you will end up with an awesome Photo Sphere to share with all your friends.
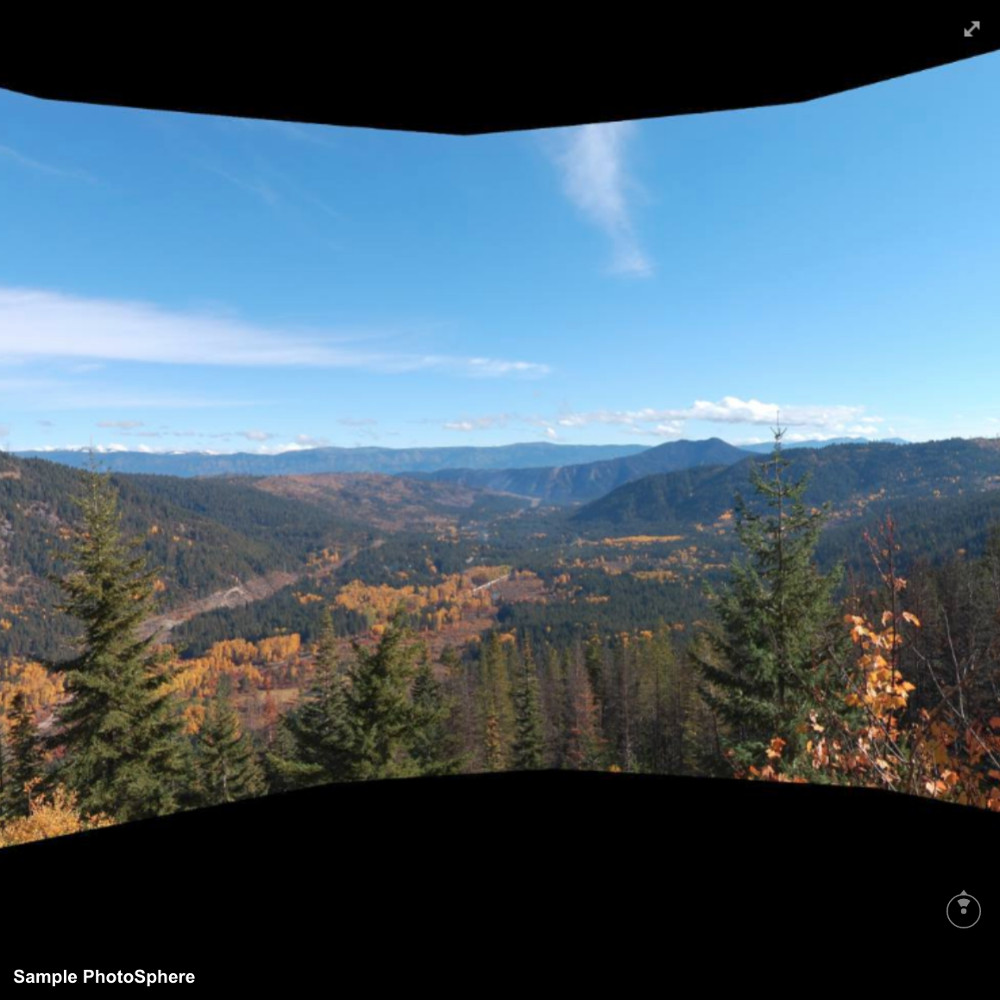
Click to view the photosphere on Facebook.
Future Directions
That’s it! I hope if you made it this far you found this guide useful, or at least insightful…
If I have time, I’d like to investigate the following areas:
- Investigate how to use bracketing to get a better overall exposure for the panoramas.
- What is lens vignette, and do I need to correct/remove it?
- I find the max 6000 pixel photo size imposed by facebook to be limiting. So I’d like to investigate ways to provide my own 360° photo viewer, using three.js. This looks promising.
- Technically, a panorama using a spherical projection for viewing. Google calls these “Photo Spheres”, and that’s the term I’ll use. However, Facebook calls them “360° photos”. I dislike this term because they’re not always 360° (in particular, for most panoramas you want to take with your DSLR. ↩
- Alright, the only one I found that I actually tried. But after further searching, it seems to actually be the best one out there. ↩
- I just fell, again, into the deep
traprabbit hole again figuring out where to point to for a good summary document here… ↩ - Yes, that is the correct spelling… ↩
- This is an area that, despite several attempts, I haven’t fully figured out yet. The focal length and other important lens information is always present in the photo EXIF data, but for some reason Hugin typically inputs some different values for focal length and focal length multiplier (crop factor), and I haven’t figured out why yet. Typically, just leaving those alone seems fine, but if my panorama isn’t aligning properly, I’ll try putting in the exact values from the EXIF data, and that does the trick. ↩
- This is another area I don’t fully understand - how does Hugin estimate the field of view for the resulting panorama?? I’m pretty sure the math is outlined here, but I think that article is a bit muddled… ↩
- For uploading to Facebook. Although the result should work with any other Photo Sphere renderer, I haven’t tested it. ↩
- This was an especially infuriating endeavor, as Facebook has detailed documentation on how to do it, but it’s focused mostly on producing 360° Photo Spheres using Photoshop. It took a lot of trial and error to figure out how to make it work for partial Photo Spheres. ↩
- For the curious, this command specifies how to place our partial panorama inside a full spherical panorama (360° x 180°). See here for further details and a nice illustration. The astute will observe that this is redundant with the work we already did to fit our original panorama into one of the predefined FOV Facebook specifies…and all I can say is “Yes. Don’t ask.” ↩
- Instead, you can move a photo from your timeline to an album. Just open the image, then go to Options > ‘Move to Other Album’. ↩
